

OpenShift
Introduction
Section titled “Introduction”OpenShift is a container orchestration platform as a service designed to simplify the deployment, scaling, and management of containerized applications. Built on Kubernetes, OpenShift provides a comprehensive set of tools and features that facilitate the orchestration, automation, and monitoring of containerized workloads.
With OpenShift, you can deploy LocalStack on a managed Kubernetes cluster, as a cloud sandbox that emulates various AWS services & APIs. This guide demonstrates how you can deploy LocalStack on OpenShift using Devfile. You can use the deployed LocalStack container to create AWS resources that you can use for local development and testing purposes.
Getting started
Section titled “Getting started”This guide is designed for users new to LocalStack and assumes basic knowledge of the AWS CLI and our lstk aws AWS CLI proxy.
As a general prerequisite, you should have access to the OpenShift Web Console.
We will demonstrate how you can create local AWS resources using LocalStack using the AWS CLI. Instead of running LocalStack locally, you will deploy it on OpenShift and use the exposed endpoint to interact with the LocalStack container.
Setting up LocalStack on OpenShift
Section titled “Setting up LocalStack on OpenShift”You can deploy LocalStack via the Developer perspective in the OpenShift Web Console. Navigate to the +Add view to deploy LocalStack using a Devfile.
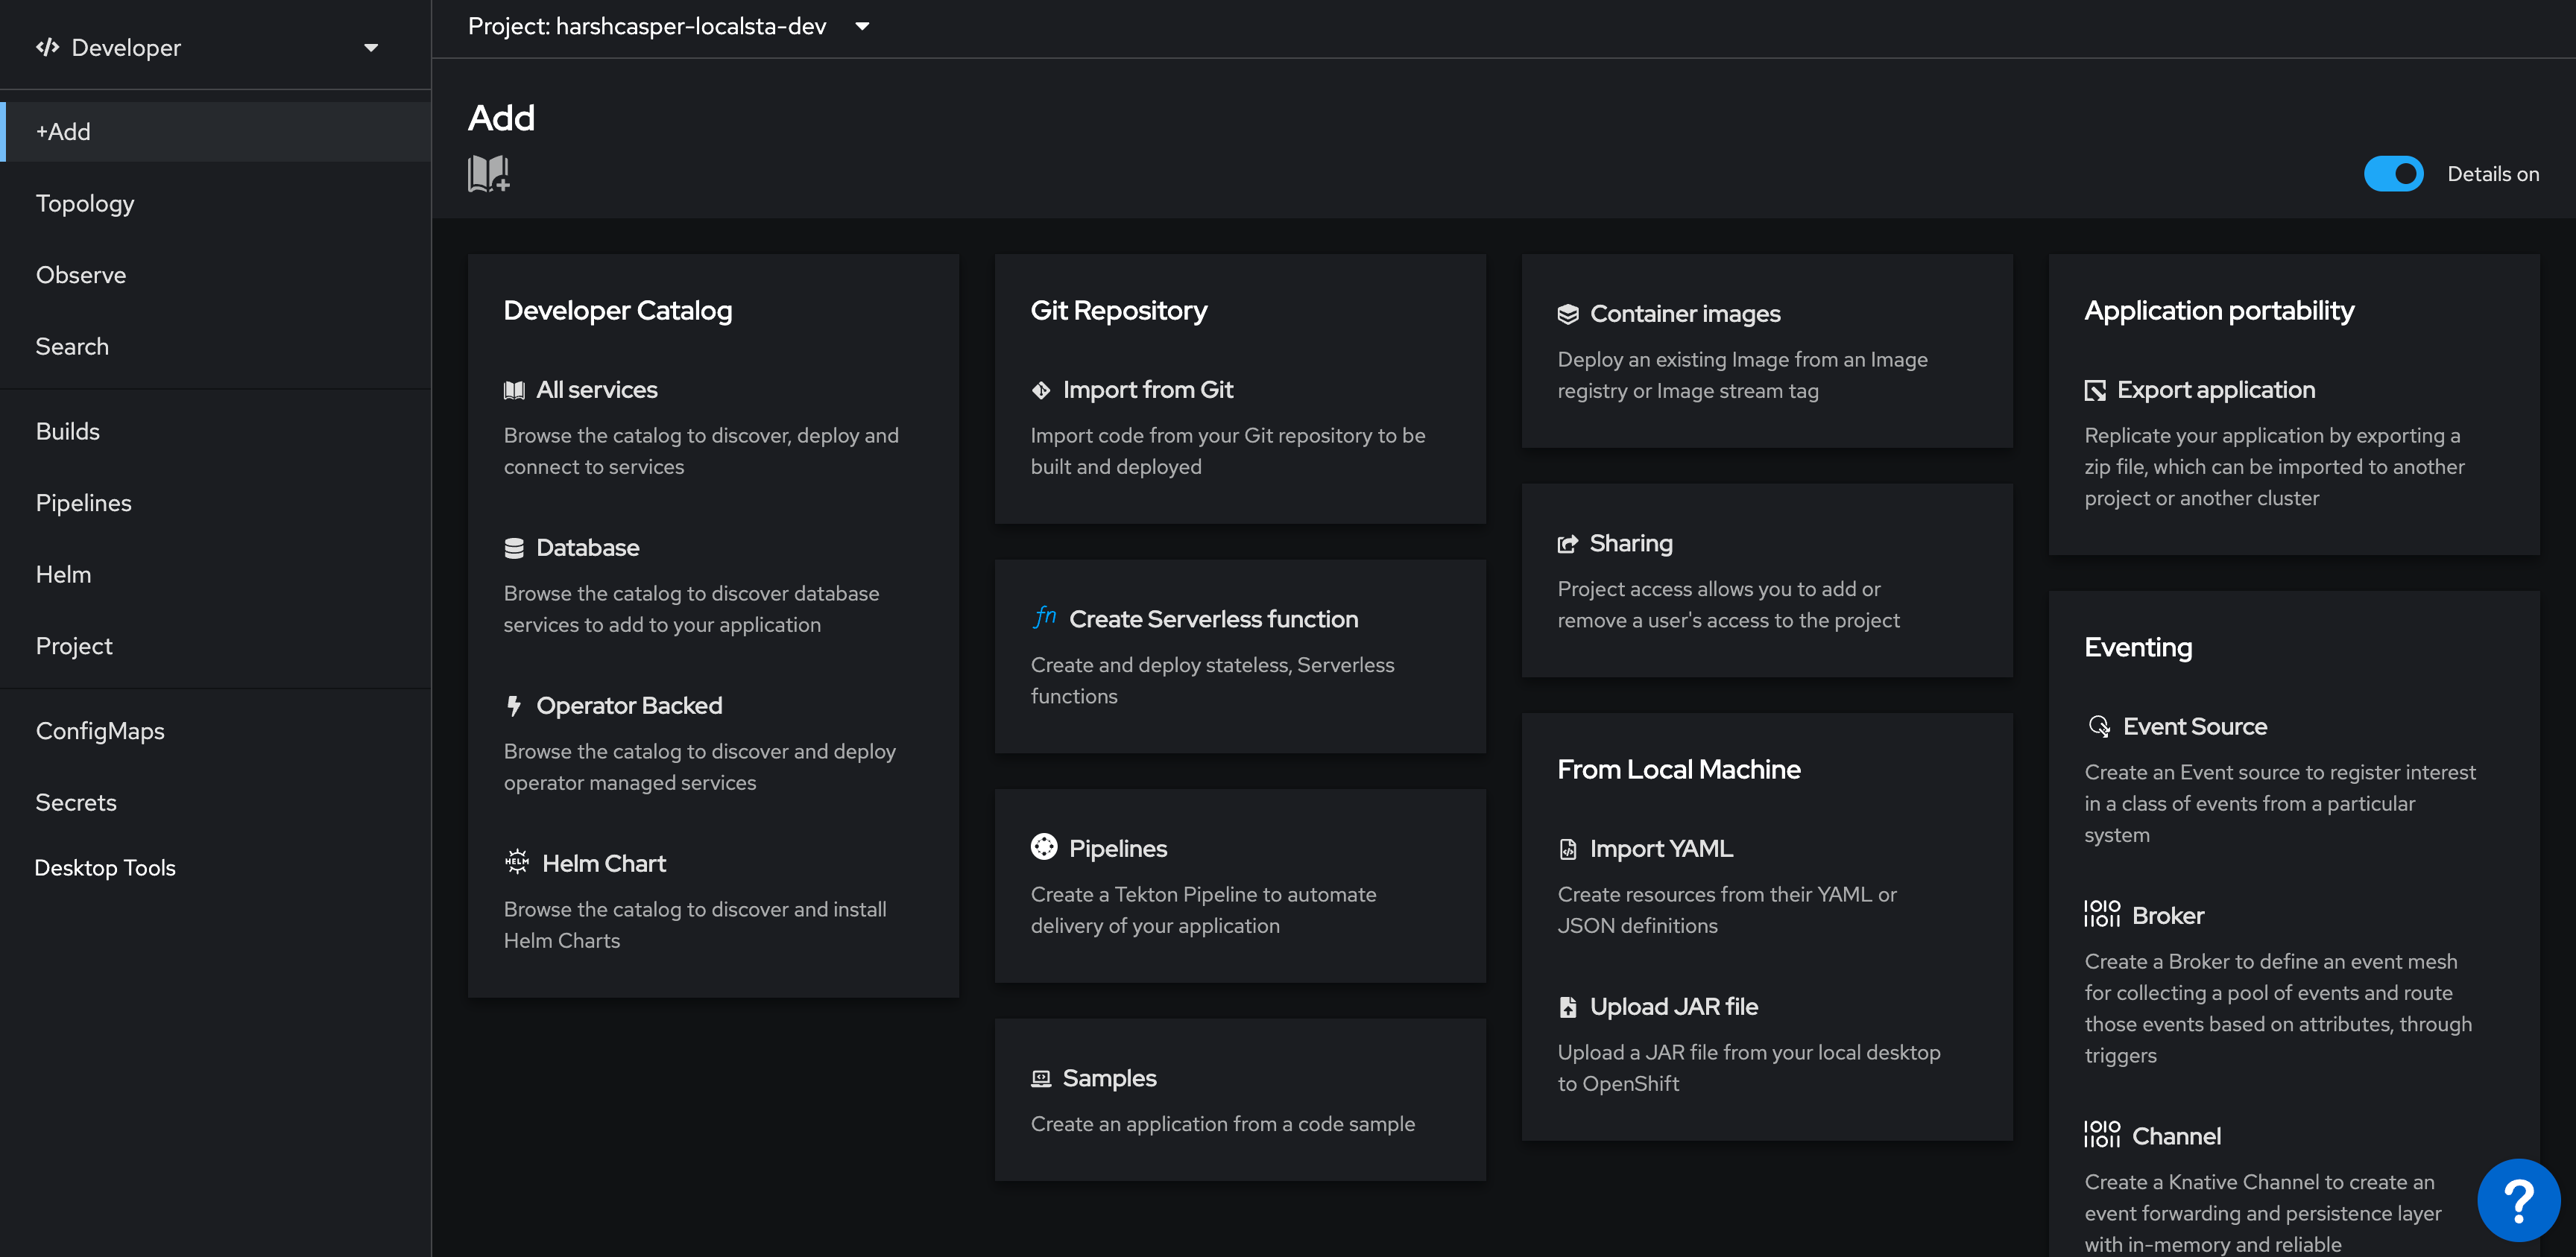
To deploy LocalStack on OpenShift, click on Import from Git in the Git Repository tile. In the Git section, enter the following Git repository URL to import the Devfile and Helm charts which contains the configuration for LocalStack: https://github.com/localstack/localstack-dev-spaces.
OpenShift Web Console will automatically detect the Devfile and display the import strategy. A unique application name will be generated to the application grouping to label your resources. A unique name will also be provided to the component that will be used to name associated resources. You can edit these values if you want.
Click on Create to deploy LocalStack on OpenShift.
Viewing the LocalStack deployment
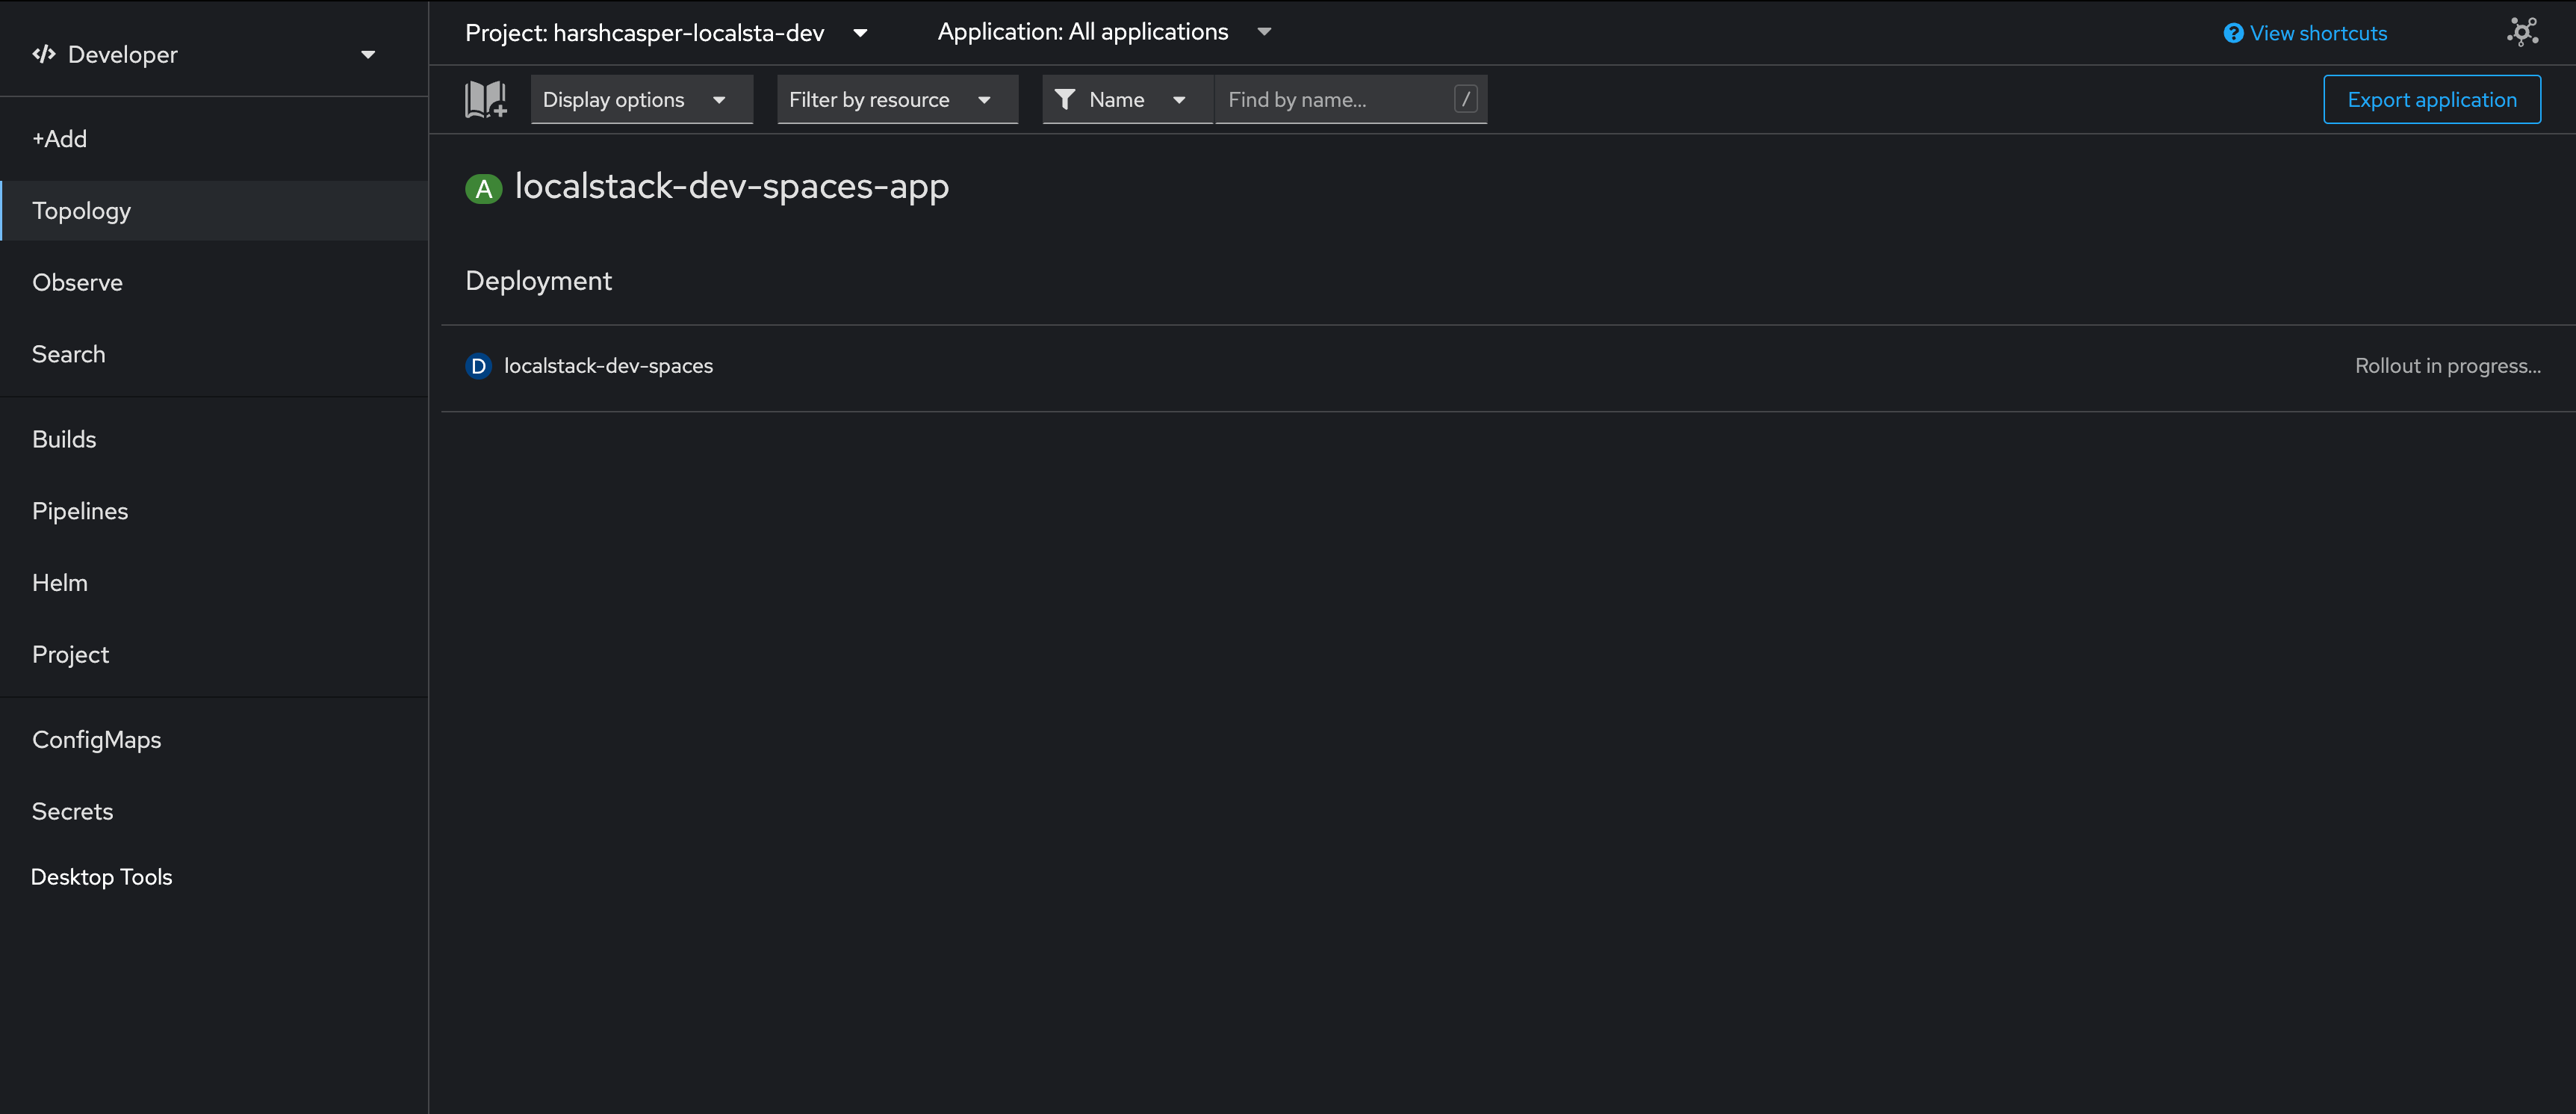
Section titled “Viewing the LocalStack deployment”You can see the build status of the LocalStack deployment in the Topology view.
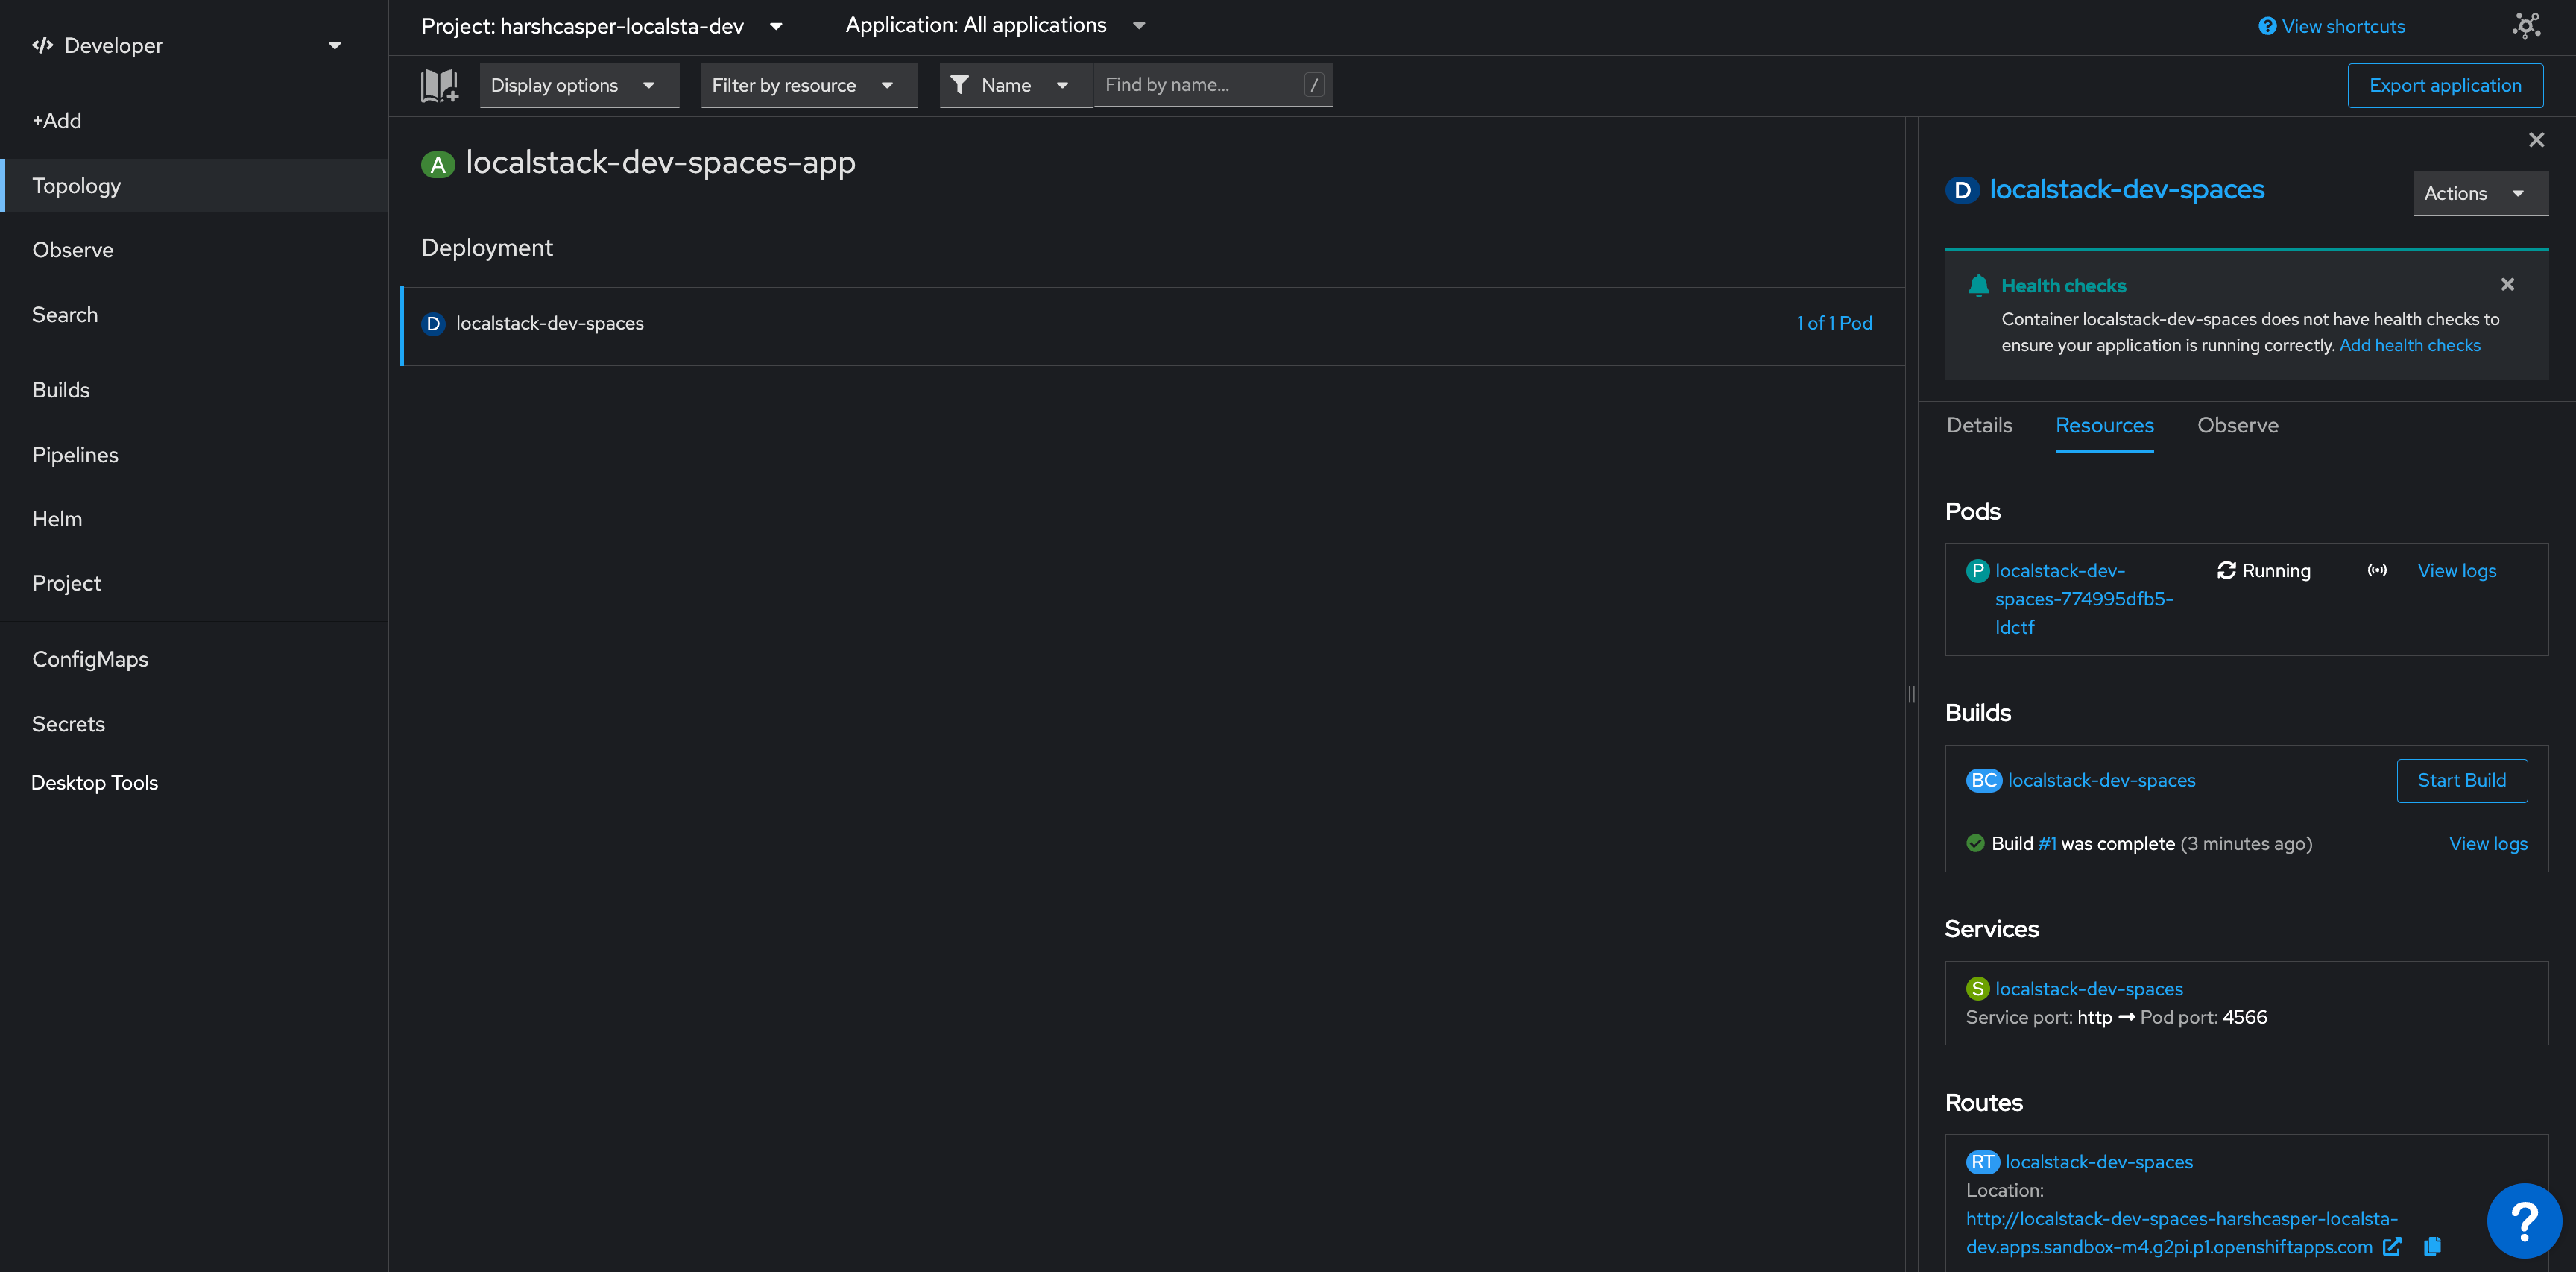
After successful deployment, you can see the localstack-dev-spaces pod in the Topology view. Click on the pod to view the details. You will be able to see the following details:
- Running pods along with the status and logs.
- Builds for your existing pods and an option to create new builds.
- Exposed services along with the service port and the pod port.
- Exposed routes for your deployed pods on the cluster.
Creating AWS resources on OpenShift
Section titled “Creating AWS resources on OpenShift”Click on the localstack-dev-spaces pod to view the details. You will be able to see the exposed route for the LocalStack container. Copy the route URL and use it to interact with the LocalStack container.
Since LocalStack is running on the cluster rather than on your machine, point lstk at the exposed route instead of its default local endpoint.
Set LSTK_ENDPOINT_URL once for the whole session:
export LSTK_ENDPOINT_URL='<localstack-route-url>'lstk aws s3 mb s3://my-bucketlstk aws sqs create-queue --queue-name my-queueAlternatively, pass the global --endpoint-url flag per command:
lstk --endpoint-url '<localstack-route-url>' aws s3 mb s3://my-bucketlstk --endpoint-url '<localstack-route-url>' aws sqs create-queue --queue-name my-queueIn the above commands, replace <localstack-route-url> with the route URL of the LocalStack container.
You can further use the other lstk tool proxies, such as lstk cdk, lstk sam, and lstk terraform, to interact with the deployment.
As with lstk aws, set LSTK_ENDPOINT_URL or pass --endpoint-url to point these at the route URL instead of a local emulator.
Deleting the LocalStack deployment
Section titled “Deleting the LocalStack deployment”To delete the LocalStack deployment, click on the localstack-dev-spaces pod in the Topology view. Click on the Actions menu and select Delete Deployment.